
RHEL 7 - Kickstart
Automated Installation of RHEL 7 using Kickstart, DHCPD, HTTPD and TFTP
Note: *All the commands are highlighted in red & are in bold.
1) Install the Redhat Server:
a) Create a Redhat Server with a minimum Hard Disk Size of 30GB, and make sure that the disk is partitioned with the following size:
- /boot - 500 MB
- / - 20 GB
- /home - 5 GB
- swap - 4 GB (2X the size of RAM)
(or)
b) If you have already installed the Server with Hard Disk Size of 20 GB, do the following:
- 1) Add another Hard Disk of Size 20 GB of type SCSI. This partition is created to mount the client ISO.
-
2) Use # fdisk -l to check whether the new disk is added.
[root@localhost Desktop]# fdisk -l Disk /dev/sdb: 21.5 GB, 21474836480 bytes, 41943040 sectors Units = sectors of 1 * 512 = 512 bytes Sector size (logical/physical): 512 bytes / 512 bytes I/O size (minimum/optimal): 512 bytes / 512 bytes [root@localhost Desktop]# -
3) Create a new Logical Volume using the command # fdisk /dev/sdb and do the following:
[root@localhost Desktop]# fdisk /dev/sdb Welcome to fdisk (util-linux 2.23.2). Changes will remain in memory only, until you decide to write them. Be careful before using the write command. Device does not contain a recognized partition table Building a new DOS disklabel with disk identifier 0xb8a00146. Command (m for help): Command (m for help): n Partition type: p primary (0 primary, 0 extended, 4 free) e extended Select (default p): Using default response p Partition number (1-4, default 1): First sector (2048-41943039, default 2048): Using default value 2048 Last sector, +sectors or +size{K,M,G} (2048-41943039, default 41943039): +19G Partition 1 of type Linux and of size 19 GiB is set Command (m for help): p Disk /dev/sdb: 21.5 GB, 21474836480 bytes, 41943040 sectors Units = sectors of 1 * 512 = 512 bytes Sector size (logical/physical): 512 bytes / 512 bytes I/O size (minimum/optimal): 512 bytes / 512 bytes Disk label type: dos Disk identifier: 0xb8a00146 Device Boot Start End Blocks Id System /dev/sdb1 2048 39847935 19922944 83 Linux Command (m for help): w The partition table has been altered! Calling ioctl() to re-read partition table. Syncing disks. [root@localhost Desktop]# - 4) Use # partprobe command to re-read the MBR without Re-booting or # reboot
- 5) Use # mkfs -t xfs /dev/sdb1 to format the volume.
- 6) Create a folder clientiso in / # mkdir /clientiso
- 7) Mount the volume to the /clientiso folder # mount /dev/sdb1 /clientiso
-
8) Open /etc/fstab # vi /etc/fstab and add the following line:
/dev/sdb1 /clientiso xfs defaults 1 2
- 9) # reboot (or) # mount -a to mount the volume.
- 10) To check the mounted partion use # df -h (or) mount
2) Disable all the 3 Firewalls:
-
a) Disable SELINUX:
i) Open SELINUX Config file by using # vi /etc/selinux/config
ii) ChangeSELINUX=enforcing
toSELINUX=disabled
iii) Use # setenforce 0 to change the configuration without rebooting.
iv) Use # getenforce and make sure that the firewall is disabled. -
b) Disable firewalld:
i) Use # systemctl stop firewalld.service to stop the firewalld.
ii) Use # systemctl disable firewalld.service to disable the firewalld. -
c) Disable iptables, ebtables, ip6tables:
i) Use # systemctl mask iptables.service ebtables ip6tables.service to stop them.
3) Configure hostname and TCP/IP on the Server:
-
1) Set hostname as srv1.example.com by # hostnamectl set-hostname srv1.example.com and # reboot
-
2) Check hosname status # hostnamectl status
[root@srv1 Desktop]# hostnamectl status Static hostname: srv1.example.com Icon name: computer-vm Chassis: vm Machine ID: e62eac2270094228bd7d32a6db874904 Boot ID: 65aec7e0d92544568350ff25e03e5ed9 Virtualization: vmware Operating System: Red Hat Enterprise Linux Server 7.0 (Maipo) CPE OS Name: cpe:/o:redhat:enterprise_linux:7.0:GA:server Kernel: Linux 3.10.0-123.el7.x86_64 Architecture: x86_64 [root@srv1 Desktop]# - 3) Add connection name eth0 using # nmcli connection add type ethernet con-name eth0 ifname eno16777736
-
4) Configure network using text interface # nmtui and do the following:
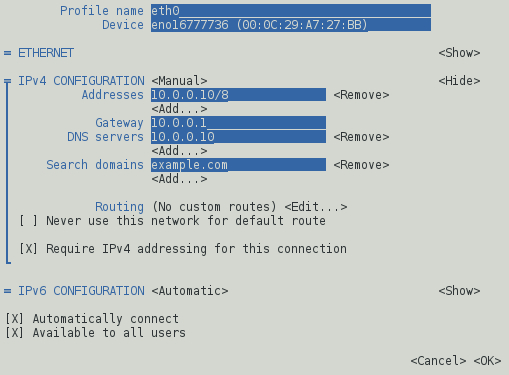
- 5) Make eth0 connection up # nmcli connection up eth0
-
6) Check the configuration using # ifconfig
[root@srv1 Desktop]# ifconfig eno16777736: flags=4163
loop txqueuelen 0 (Local Loopback) RX packets 1030 bytes 87600 (85.5 KiB) RX errors 0 dropped 0 overruns 0 frame 0 TX packets 1030 bytes 87600 (85.5 KiB) TX errors 0 dropped 0 overruns 0 carrier 0 collisions 0 [root@srv1 Desktop]# -
7) Open /etc/hosts file # vi /etc/hosts and add the following:
10.0.0.10 srv1.example.com
- 8) Check the connection using # ping 10.10 and # ping srv1.example.com
4) Configure yum:
- 1) Make sure that the CD/DVD (SATA) is connected and the Server ISO is mounted.
- 2) Create two folders /iso, /packages in the / directory # mkdir /iso /packages
- 3) Mount the Server ISO image to the /iso folder # dd if=/dev/cdrom of=/iso/rh7.iso
-
4) Open /etc/fstab # vi /etc/fstab and add the following line:
/iso/rh7.iso /packages iso9600 user,loop 0 0
- 5) # reboot (or) # mount -a to mount the volume.
- 6) Use # df -h to view the mounted volume.
-
7) Open /etc/yum.repos.d/rh7.repo # vi /etc/yum.repos.d/rh7.repo and add the following:
[rh7]
name=rh7
baseurl=file:///packages
enabled=1
gpgcheck=0
- 8) # yum clean all ; yum update
5) Install HTTPD, DHCPD, TFTP, SYSLINUX:
- 1) Use yum install command to install the packages # yum install -y dhcp* http* tftp* syslinux*
- 2) A total of 33 packages will be installed along with the dependencies.
6) Mount the Client ISO and transfer the contents to the Apache server:
- 1) Make sure that the CD/DVD (SATA) is connected and the Client ISO is mounted.
-
2) Create a folder /clientiso, in the / directory # mkdir /clientiso
*Note: If you have added an additional Hard Disk you can skip this step. -
3) Mount the Client ISO image to the /clientiso folder
# dd if=/dev/cdrom of=/clientiso/rh7client.iso - 4) Goto /var/www/html # cd /var/www/html and create a folder packages # mkdir packages
-
5) Open /etc/fstab # vi /etc/fstab and add the following line:
/clientiso/rh7client.iso /var/www/html/packages iso9600 user,loop 0 0
- 6) # reboot (or) # mount -a to mount the volume.
- 7) Use # df -h to view the mounted volume.
7) Configure DHCPD:
- 1) Start DHCPD service # systemctl start dhcpd
-
2) Open /etc/dhcp/dhcpd.conf # vi /etc/dhcp/dhcpd.conf and add the following:
subnet 10.0.0.0 netmask 255.0.0.0 { range 10.0.0.100 10.0.0.200; filename "pxelinux.0"; next-server 10.0.0.10; } - 3) Retart DHCPD service # systemctl restart dhcpd
- 4) Enable DHCPD service # systemctl enable dhcpd
-
5) Check status of DHCPD service # systemctl status dhcpd
    [root@srv1 Desktop]# systemctl status dhcpd
    dhcpd.service - DHCPv4 Server Daemon
       Loaded: loaded (/usr/lib/systemd/system/dhcpd.service; enabled)
       Active: active (running) since Sat 2018-08-18 00:50:08 IST; 8min ago
         Docs: man:dhcpd(8)
               man:dhcpd.conf(5)
     Main PID: 1417 (dhcpd)
       CGroup: /system.slice/dhcpd.service
               └─1417 /usr/sbin/dhcpd -f -cf /etc/dhcp/dhcpd.conf -user dhcpd -gr...
    [root@srv1 Desktop]#
8) Configure TFTP:
- 1) Navigate to /var/lib/tftpboot by # cd /var/lib/tftpboot
-
2) Create two folders pxelinux.cfg and rh7
# mkdir pxelinux.cfg
# mkdir rh7 - 3) Navigate to /usr/share/syslinux by # cd /usr/share/syslinux
- 4) Copy menu.c32 to /var/lib/tftpboot # cp menu.c32 /var/lib/tftpboot
- 5) Copy pxelinux.0 to /var/lib/tftpboot # cp pxelinux.0 /var/lib/tftpboot
- 6) Navigate to /var/www/html/packages/isolinux by # cd /var/www/html/packages/isolinux
- 7) Copy vmlinuz folder to /var/lib/tftpboot/rh7 # cp vmlinuz /var/lib/tftpboot/rh7
- 8) Copy initrd.img to /var/lib/tftpboot/rh7 # cp initrd.img /var/lib/tftpboot/rh7
- 9) Navigate to /var/lib/tftpboot/pxelinux.cfg by # cd /var/lib/tftpboot/pxelinux.cfg
-
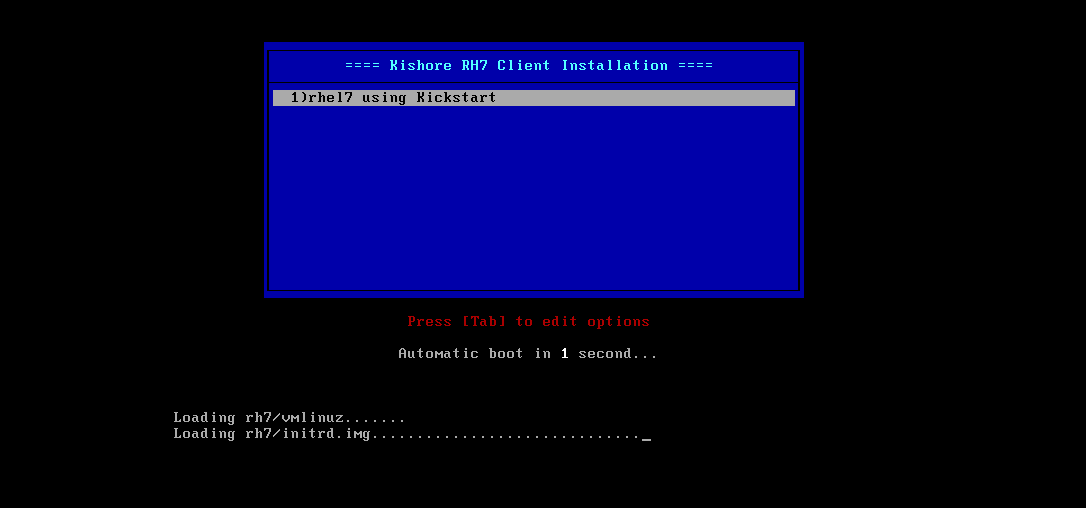
10) Create a file called defualt by # vi default and add the following:
    timeout 100
    default menu.c32
    menu title ==== Kishore RH7 Client Installation ====
    label 1
    menu label ^ 1)rhel7 using Kickstart
    kernel rh7/vmlinuz
    append initrd=rh7/initrd.img ks=http://10.0.0.10/ks.cfg
You can download the default file here -
11) Finally the folder structure for the /tftpboot directory should be like this:
    |_ /var
         |_ /lib
               |_ /tftpboot
                         |menu.c32
                         |pxelinux.0
                         |_ /pxelinux.cfg
                                        |default
                         |_ /rh7
                               |_ /vmlinuz
                               |inird.img
You can download TFTPBOOT folder Repo here.
9) Adding ks.cfg to Apache Server:
- 1) From any one of the previously installed client navigate to /root by cd /root
- 2) Copy anaconda-ks.cfg from the client and rename it as ks.cfg # mv anaconda.cfg ks.cfg
- 3) In the Server paste the ks.cfg file to /var/www/html # cp ks.cfg var/www/html
-
4) Make the following changes in the ks.cfg file by # vi ks.cfg
  Remove cdrom
  And the add the following:
  install
  autostep
  url --url=http://10.0.0.10/packages
You can download the sample ks.cfg file here -
5) Finally the folder structure for /var/www/html should be like this:
    |_ /var
         |_ /www
               |_ /html
                     |ks.cfg
                     |_ /packages
10) Start and Enable httpd, dhcpd, tftp, xinetd services:
-
1) Start and enable httpd service
  # systemctl start httpd.service
  # systemctl enable httpd.service
-
2) Restart and enable dhcpd service
  # systemctl restart dhcpd.service
  # systemctl enable dhcpd.service
-
3) Start tftp socket and service
  # systemctl start tftp.socket
  # systemctl start tftp.service
-
4) Start xinetd socket and service
  #  systemctl start xinetd.service
  #  systemctl enable xinetd.service
-
4) Check the status if tftp, dhcpd, httpd and xinetd
# systemctl status service_name
11) Performing Client Installation with kickstart:
-
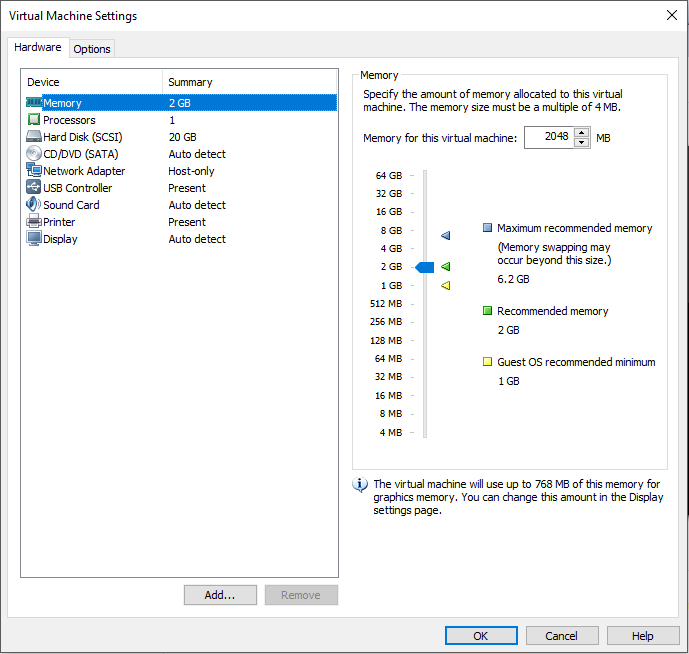
1) Virtual Machine setting for client VM, choose Host-Only for Network Adapter and auto detect for CD/DVD.
-
2) First DHCP will assign the IP address to the client, then TFTP will start working.
-
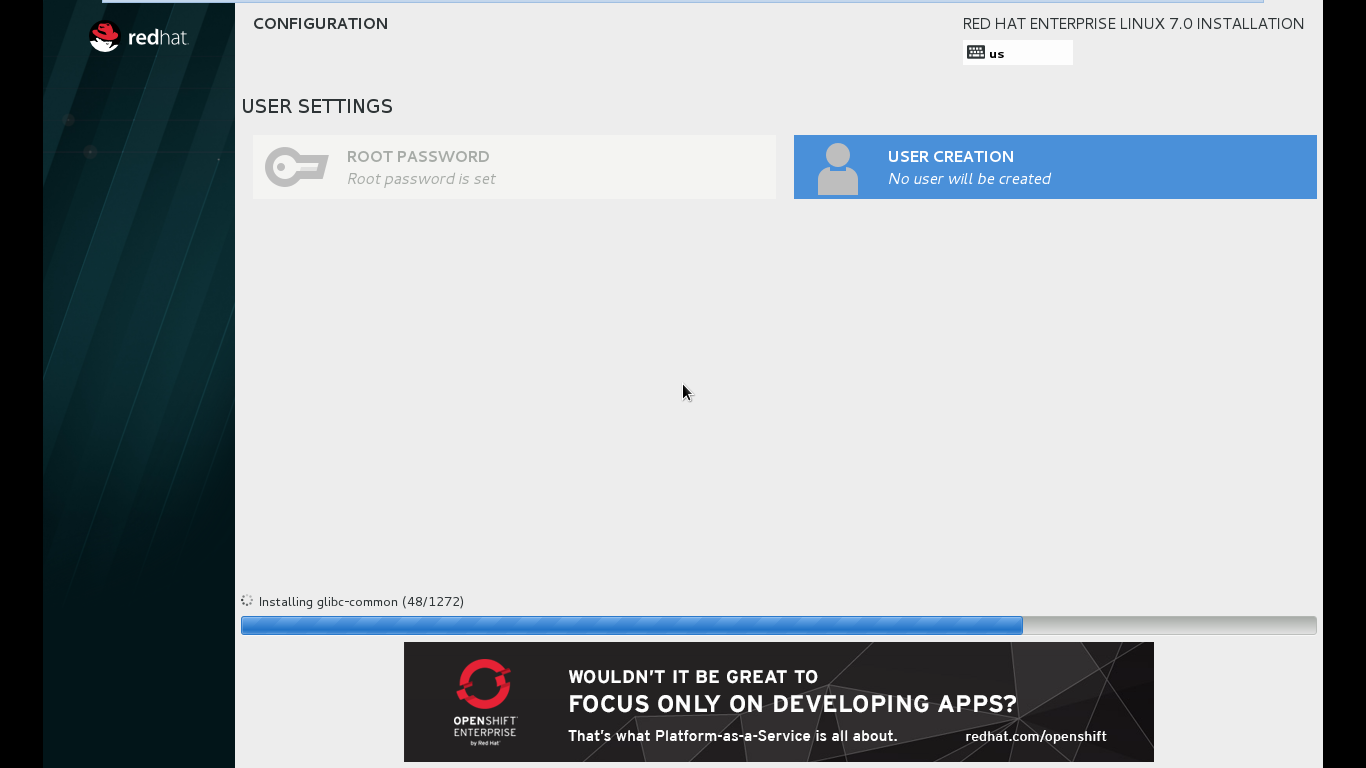
3) Client starts installing automatically as per the configuration in ks.cfg.
-
Thank You!